

I have been making candles for quite sometime. I find it to be a rewarding and easy craft with a big payoff.
I have made candles in a variety of containers and in a variety of colors, it is super easy and fun.
Recently I found a number of miniature tins at my local craft store for fifty cents each. I bought $20 worth, knowing that they would make super cute candles that I could use for a variety of purposes.
Candling requires a number of steps, all of them easy to follow.
Required for this project is....

A block of wax
Melting pot
Thermometer
Knife
Wicks
Clothes pins
Tins
While you are preparing the process, I place the tins in the over at 170 degrees to warm. This allows the tins to be ready for the melted wax when it is poured in. The tins need to be warm so that the wax doesn't crack when it hardens.

In a large pot of hot water (just before boiling) place the melting pot with a large chunk of wax. Place your thermometer in the wax as it melts. Candle thermometers are marked with temperatures for different containers, always use this it helps with the process as different types of containers require different temps. For a tin you want the wax to melt to approximately 225 degrees.

For me the most difficult step in making candles is getting the wick to stand in the center. Some people use straws, others use the cover of a Bic pen, but most everyone uses clothes pins in the process. I have done all of the above and still use the different techniques depending on the style of candle I am making. For this particular candle I used just the clothes pins and a bead weight to hold it down.

Once the wax is melted you may add color or scents. All of these may be purchased at a craft store. For these particular candles I decided on no color since the containers were so colorful and added apple as my scent.
Pour the wax into your containers leaving a small amount of space at the top.
Don't use all of your wax at this point.... you will need more later!

Once the wax is in the container I then center my wicks and use the clothes pins to hold them in place while the wax hardens.

After the wax has hardened you will find that it may fall a bit in the center, this is when you will reuse the additional melt. Pour in the additional wax and bring it near the top of your container.

After the wax has hardened cut your wicks.

What an adorable and fragrant candle and easy to make!

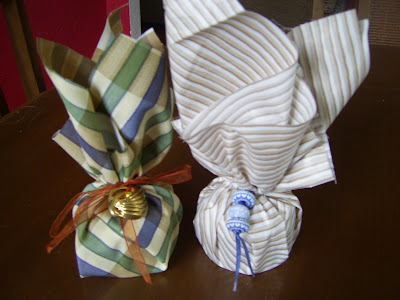
These candles make great hostess gifts and can be wrapped in delightful creative ways, I will present the fun wraps in a future post.
Candling for yourself or others.... Home Made Easy!
3 comments:
You make it sound so easy...
it is easy....I PROMISE!
Okay that was so cool! My older sister used to make candles long ago, I loved watching her do it.
That is such a great gift idea.
Post a Comment