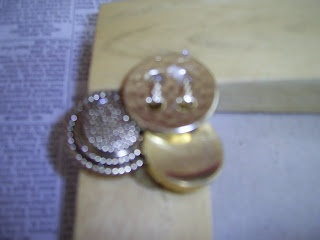
Recently I have found that using old buttons is a great way to make something old, new again, giving a great unique look to a traditional item.
Using buttons I recently made a plain wooden picture frame into something worthy of a cherished family photo.
Check it out, this is Home Made Easy....
What's Needed....
A plain picture frame
Variety of buttons
Hot glue gun
Clippers
 Using large buttons as a backdrop and for interest, these usually need to have the loops clipped off the back.
  Clipping the first button allows you to create a solid base that you can then build on. Using the glue gun, I start in the corner of my frame and then add to the creation.
As you add buttons the dimension of the design will become evident. Be creative with the buttons, I try to keep an overall color scheme but use a variety of styles to create interest.

After completing one side of the frame, move on. If you are doing all sides just continue the process around.
For this frame I chose to only do two sides, I thought it made the frame more interesting and highlighted the beauty of the original wood. I don't try to match the sides; however, I do try to balance them, but never match.
 I think these frames are fun and makes the photo chosen for display even more special. Placed next to an oversize decor piece the frame provides a one of a kind point of interest.
A beautiful picture frame, buttoned up.... Home Made Easy.


1 comment:
Interesting to know.
Post a Comment