I have a couple of small end tables that I NEED to get rid of, they are old and beaten up, but they still fill a purpose. I hate to get rid of them, so I decided to re purpose them. (Ok, I only re purposed one, but I may get around to the other one sooner or later.)
A few weeks ago I was taking a few days off work for a stay-cation and was cleaning out closets. I found a box filled with old postcards, letters, notes, photos and greeting cards. When I found the box and started going through the contents I couldn't bare to get rid of the contents.
It hit me, a way to use the cards and re purpose the table.
I started off by selecting a few of the cards that visually made the biggest impact.

After choosing the cards, I cut out the impact images and created a simple layout on the table top.

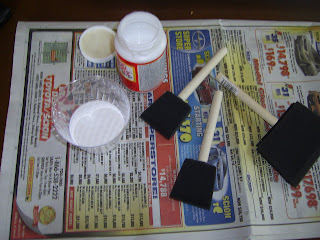
After deciding on the layout, I used my Modge-Podge to apply the images. For those of you who have never used it, modge podge it SIMPLE. All you need is a sponge brush to apply it.

Using long fluid strokes, apply the modge podge to the back of your application and then over the front. This creates a nice smooth surface for your tabletop.

After the modge podge has dried, coat with a polyurethane spray and you have a re purpose for an old table featuring memories of a lifetime.

Re purposing a table and keeping your memories in tact, Home Made Easy.


 Clipping the first button allows you to create a solid base that you can then build on. Using the glue gun, I start in the corner of my frame and then add to the creation.


 I think these frames are fun and makes the photo chosen for display even more special. Placed next to an